You’d like to conduct experiments with your Digipen Development Kit and start very quickly? Then this page is for you!
In addition to providing extensive javadoc right within the Demo App, we compiled this short introduction to get the main concepts of the Demo App and its interaction with the pen across.
Prerequisites:
We assume that you already know your way around Java and Android. If not, please follow one of the numerous free tutorials on the web before continuing with the Digipen DevKit. You should understand the Android Life Cycle, know how Activities, Buttons and OnClickListeners work and get the concept of interfaces.
Make sure you have an up-to-date version of AndroidStudio installed.
Step 1: Download the DevKit Demoapp Sourcecode from here. Extract the downloaded .zip file to a directory of your choice.
Step 2: Open AndroidStudio and hit “Open an existing Android Studio project“. Navigate to the folder that you just extracted. Select that folder (called devKit-DemoApp and decorated with the green AndroidStudio icon) and click “OK”.
Step 3: Watch AndroidStudio syncing your project and building it for the first time. If everything worked out nicely, you should see the green Android symbol in the top left corner above the directory overview.
Step 4: Get an overview of the activities and of the app’s functionalities by connecting your Android device and running the app on it.![]()
Step 5: This is the last (but main) step of this introduction. We will look at some important lines of code together to help you understand the concepts. When implementing your own experiments according to this tutorial, you can do that right here in this demo app as everything’s already set up properly.
build.gradle: The module-level build.gradle file only contains two unusual libraries to be imported.
dependencies {
    implementation fileTree(include: ['*.jar', '*.aar'], dir: 'libs')

    implementation 'com.jjoe64:graphview:4.2.1'
    implementation 'com.opencsv:opencsv:5.0'
    ...
}
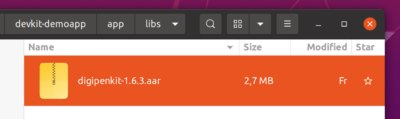
One is for displaying the live graph when streaming sensor data, the other one for writing CSV files when doing a recording. But it can also be seen that any .jar- and .aar-files in the folder libs is imported. Checking this folder shows that the DigipenKit is located there.
The DigipenKit is the layer between the app and the firmware of the pen. Using it, you don’t have to worry about data transmission and communication details but can use high-level commands to connect, calibrate and stream the pen’s sensor data. Later in this introduction you will see how to use a ConnectionHolder object to conduct these high-level commands.
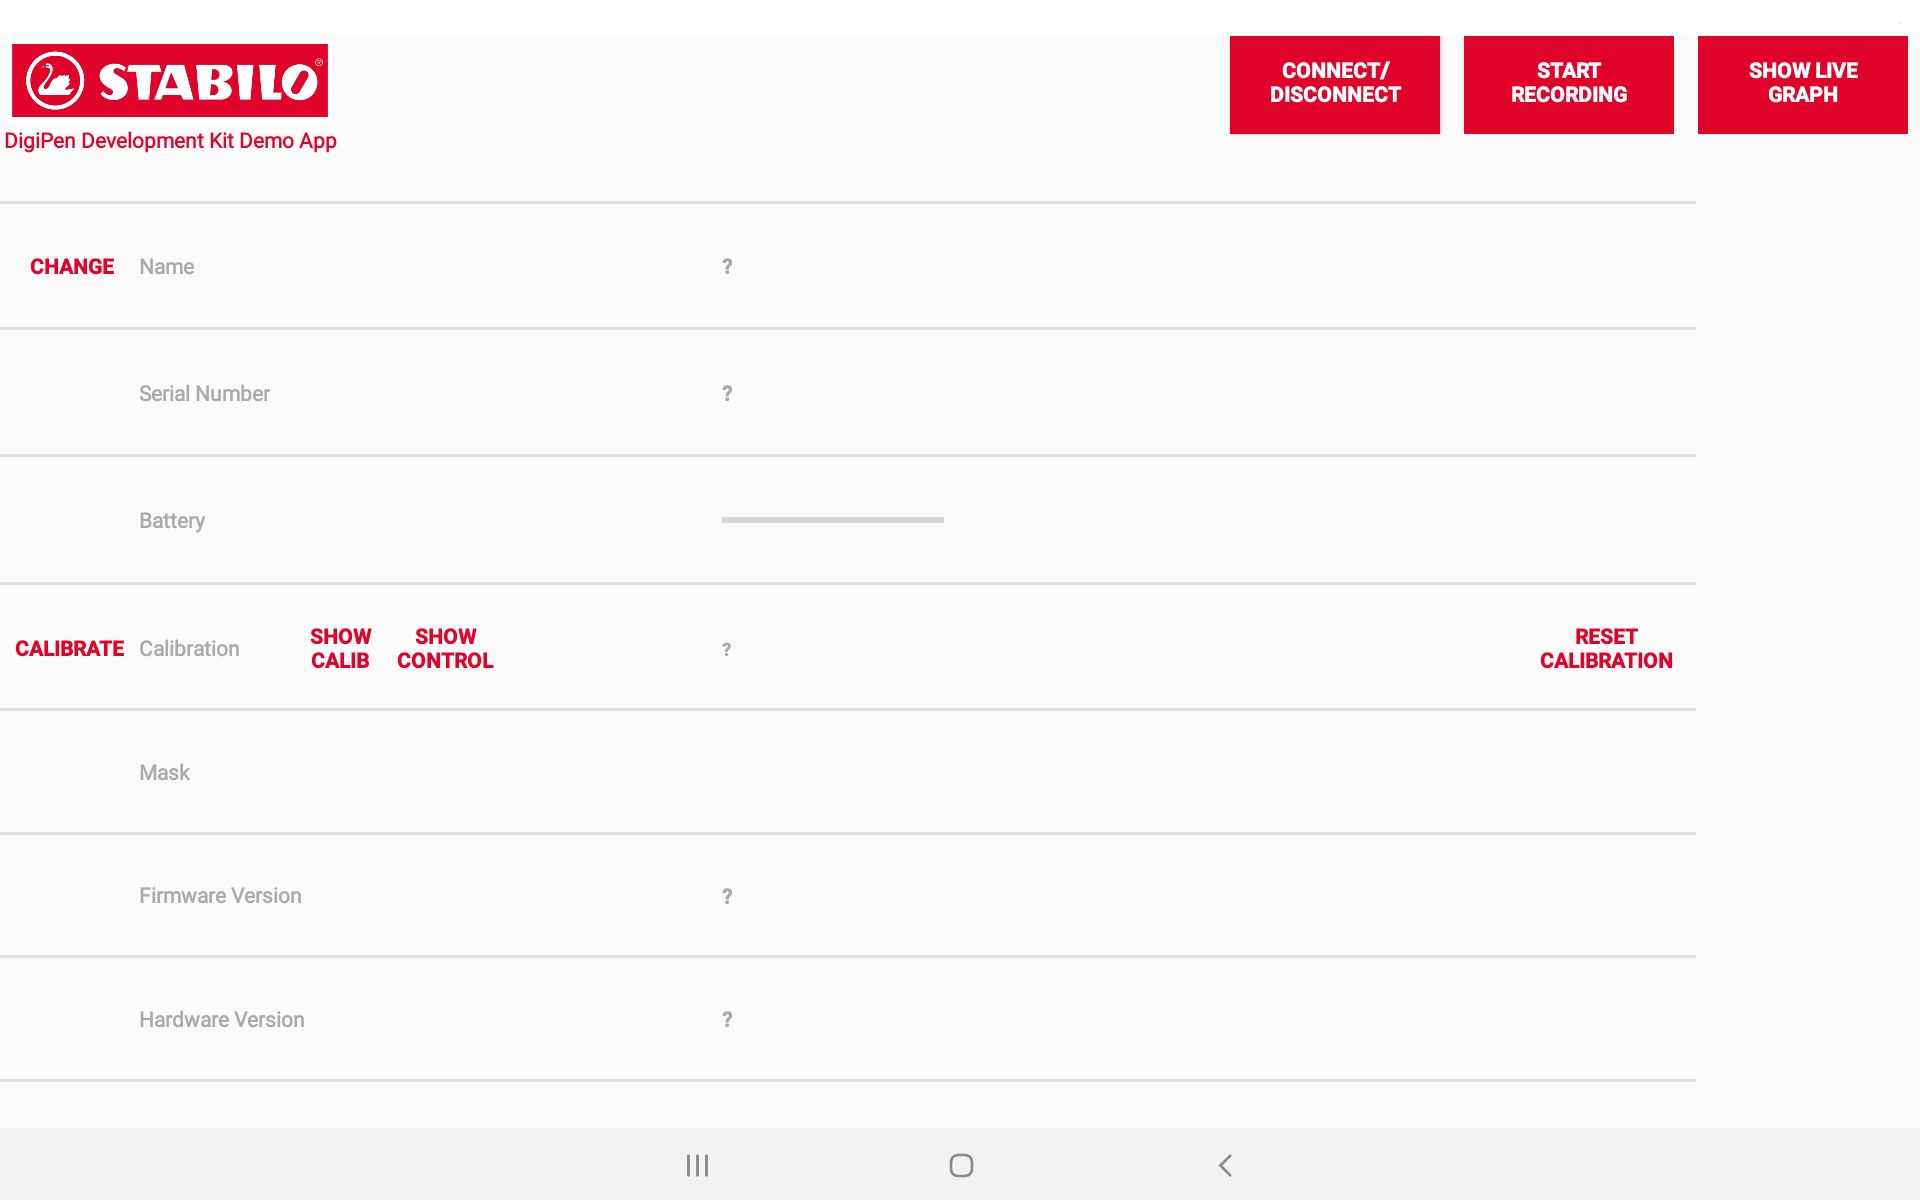
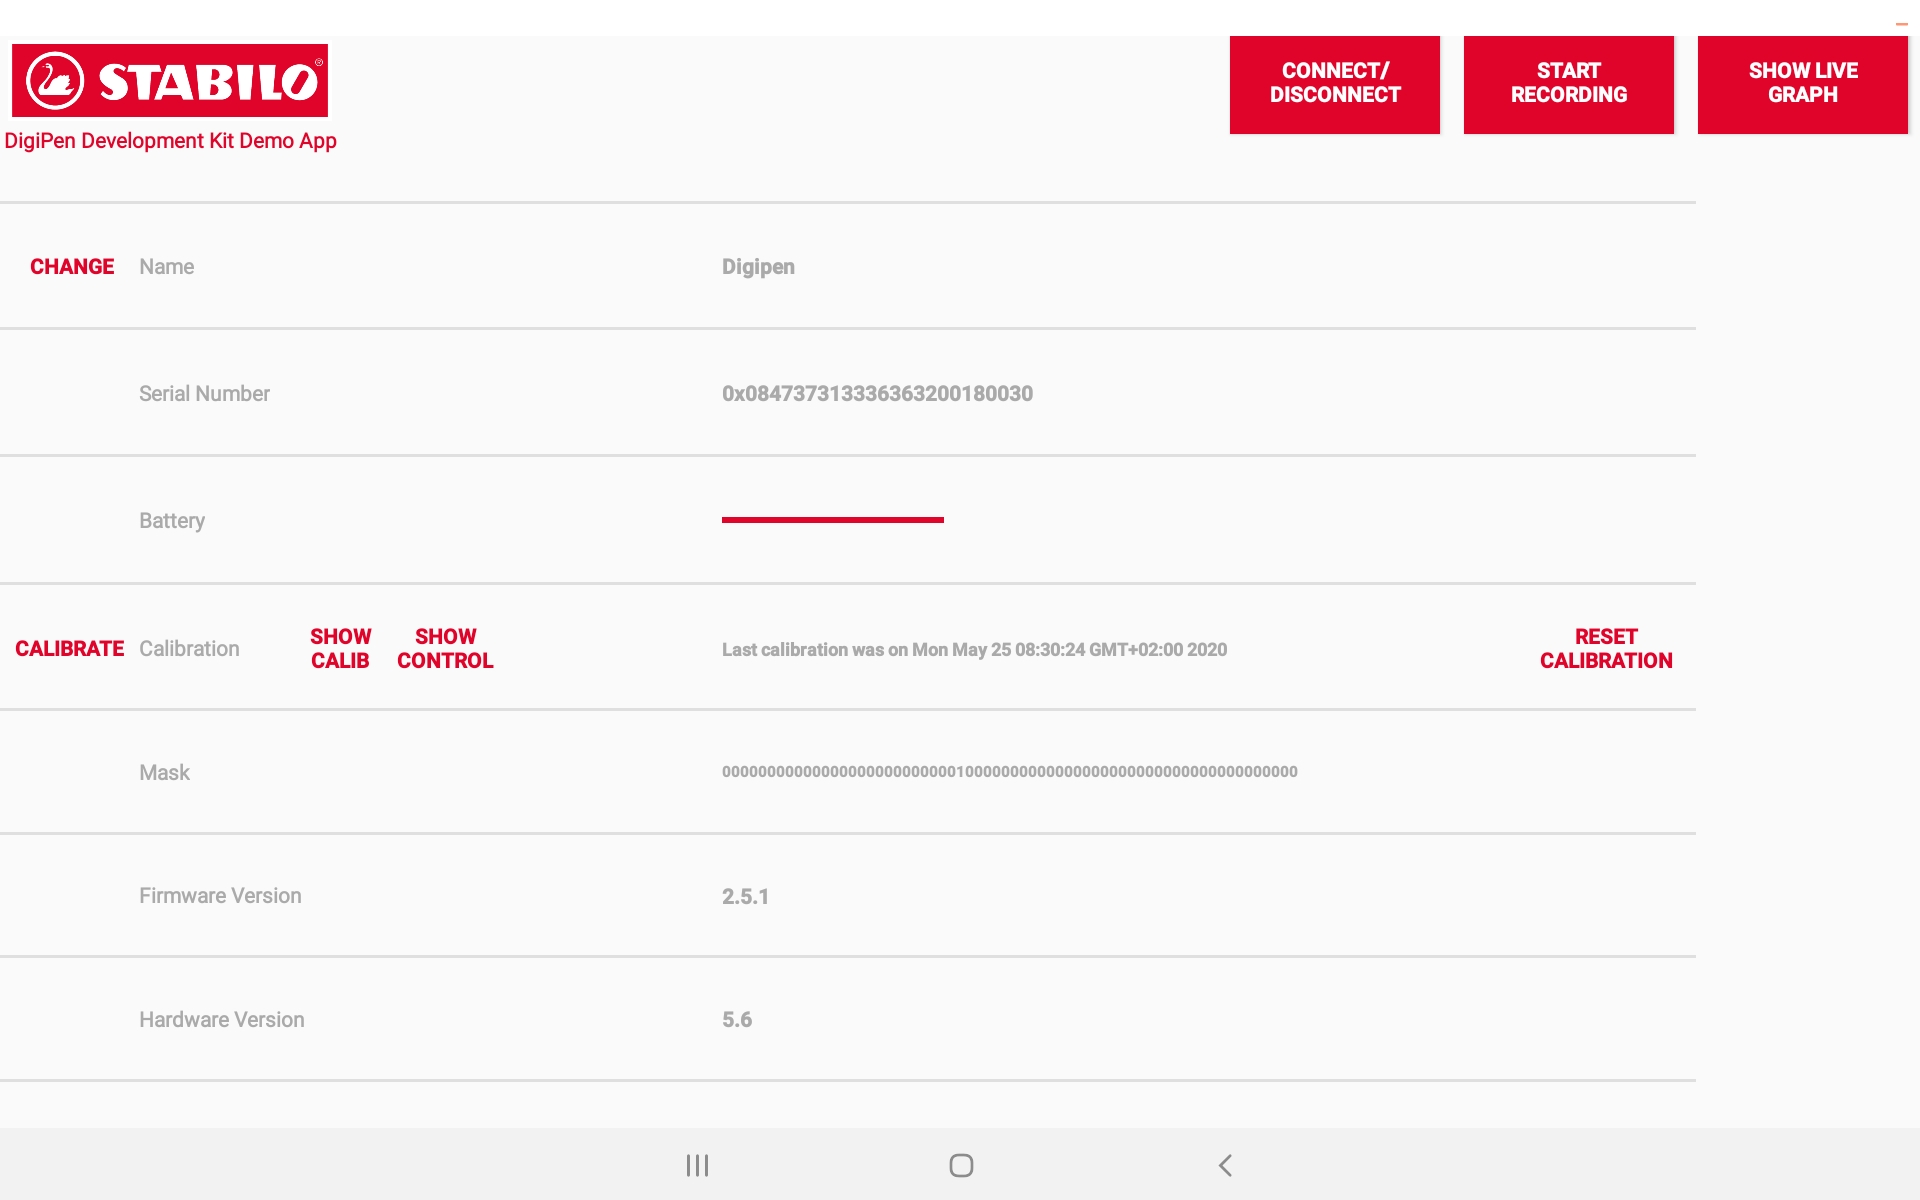
This is the main screen of the Demo App, as designed in the file /res/layout/activity_start.xml. Its logic is contained in StartActivity.java. In the manifest file (/manifests/AndroidManifest.xml), we defined this to be the activity to be launched when starting the app.
Let’s dive in!
private ConnectionHolder connectionHolder;
The ConnectionHolder is the class you will interact with most often when interacting with the Digipen from within your apps. The above line of code declares this field in the StartActivity class.
You know the Android Lifecycle, right? In the method onCreate(), we get a ConnectionHolder instance:
connectionHolder = ConnectionHolder.getInstance(getApplicationContext());
And in the onResume() method, we set the StartActivity class as the DigipenConnectionInterface:
connectionHolder.setDigipenConnectionInterface(this);
Setting the current activity as the “DigipenConnectionInterface” is necessary to make sure this activity is notified about any change that occurs on the pen. The notifications are processed by various methods that are enforced to be implemented by the ConnectionHolder.DigipenConnection interface. Look at StartActivity‘s first line to see that the DigipenConnection is implemented:
public class StartActivity extends ... implements ConnectionHolder.DigipenConnection, ... {...}
The following code section lists which methods exactly are part of this interface. Most users won’t need to pay attention to many of them except for the on_digipenDataStream method.
/**
 * The methods of this interface are called whenever a Digipen property has changed or if a
 * DataStream sample arrives. Implement this interface in the activity classes in which you
 * interact with the pen - for example by connecting, calibrating or streaming.
 */
public interface DigipenConnection {

    /**
     * Called whenever a Digipen is connected or disconnected.
     *
     * @param connected true if the pen is connected, false otherwise
     */
    void on_digipenIsConnected(boolean connected);

    /**
     * Called whenever the battery percentage changes
     *
     * @param battery the battery percentage from 0 to 100
     */
    void on_digipenBatteryHasChanged(int battery);

    /**
     * Called whenever the Digipen's name changes
     *
     * @param name the new name
     */
    void on_digipenNameHasChanged(String name);

    /**
     * Called whenever the firmwareVersion changes
     *
     * @param firmware the new firmware version
     */
    void on_digipenFirmwareVersionHasChanged(String firmware);

    /**
     * Called whenever the firmware state changes
     *
     * @param the firmware state
     */
    void on_digipenFirmwareStateHasChanged(String firmwareState);

    /**
     * Called whenever the hardwareVersion changes (or rather when it is set)
     *
     * @param hardware the hardware version
     */
    void on_digipenHardwareVersionHasChanged(String hardware);

    /**
     * Called whenever the serial number changes (or rather when it is set)
     *
     * @param serial the serial number
     */
    void on_digipenSerialHasChanged(String serial);

    /**
     * Called whenever the last calibration date changes
     *
     * @param date the date of the last calibration
     */
    void on_digipenLastCalibrationDateChanged(Date date);

    /**
     * Called whenever the control parameters have changed
     *
     * @param controlParameter the updated control parameters
     */
    void on_digipenControlParameterChanged(ControlParameter controlParameter);

    /**
     * Called whenever a change in the current calibration (-state, -action, -progress) happens
     *
     * @param calibrationState  the current state (FINISHED, ERROR, STEP 1,2,3)
     * @param stateProgress     the current progress within the current state, from 0 to 1
     * @param calibrationAction the current action (None, Wait, SHOW_FAILED)
     */
    void on_digipenCalibration(DigipenCalibration.CalibrationState calibrationState, Double stateProgress, DigipenCalibration.CalibrationAction calibrationAction);

    /**
     * Called whenever a new sample of the Digipen live stream arrives. The content of the
     * sample depends on the mask. The sampling frequency is 100 or 200 Hz depending on the
     * amount of channels to transmit. See Tools#createMask for more information.
     *
     * @param streamData the current sample containing the chosen channels
     */
    void on_digipenDataStream(StreamData streamData);

    /**
     * Called whenever the mask changes
     *
     * @param mask the new mask, a string of length 64 containing zeros or ones, depending on
     *         the channels to stream
     */
    void on_digipenMaskChange(String mask);

    /**
     * Called whenever the firmwareUpdate progress changes
     *
     * @param settingsReturn the return of the command
     * @param progress       the progress
     */
    void on_digipenFirmwareUpdate(Settings.SettingsReturn settingsReturn, int progress);
}
Now that the ConnectionHolder is initialized and that it knows the implementing activity, we can use methods like connectionHolder.connectDigipen(), connectionHolder.penIsConnected() or connectionHolder.disconnectDigipen().
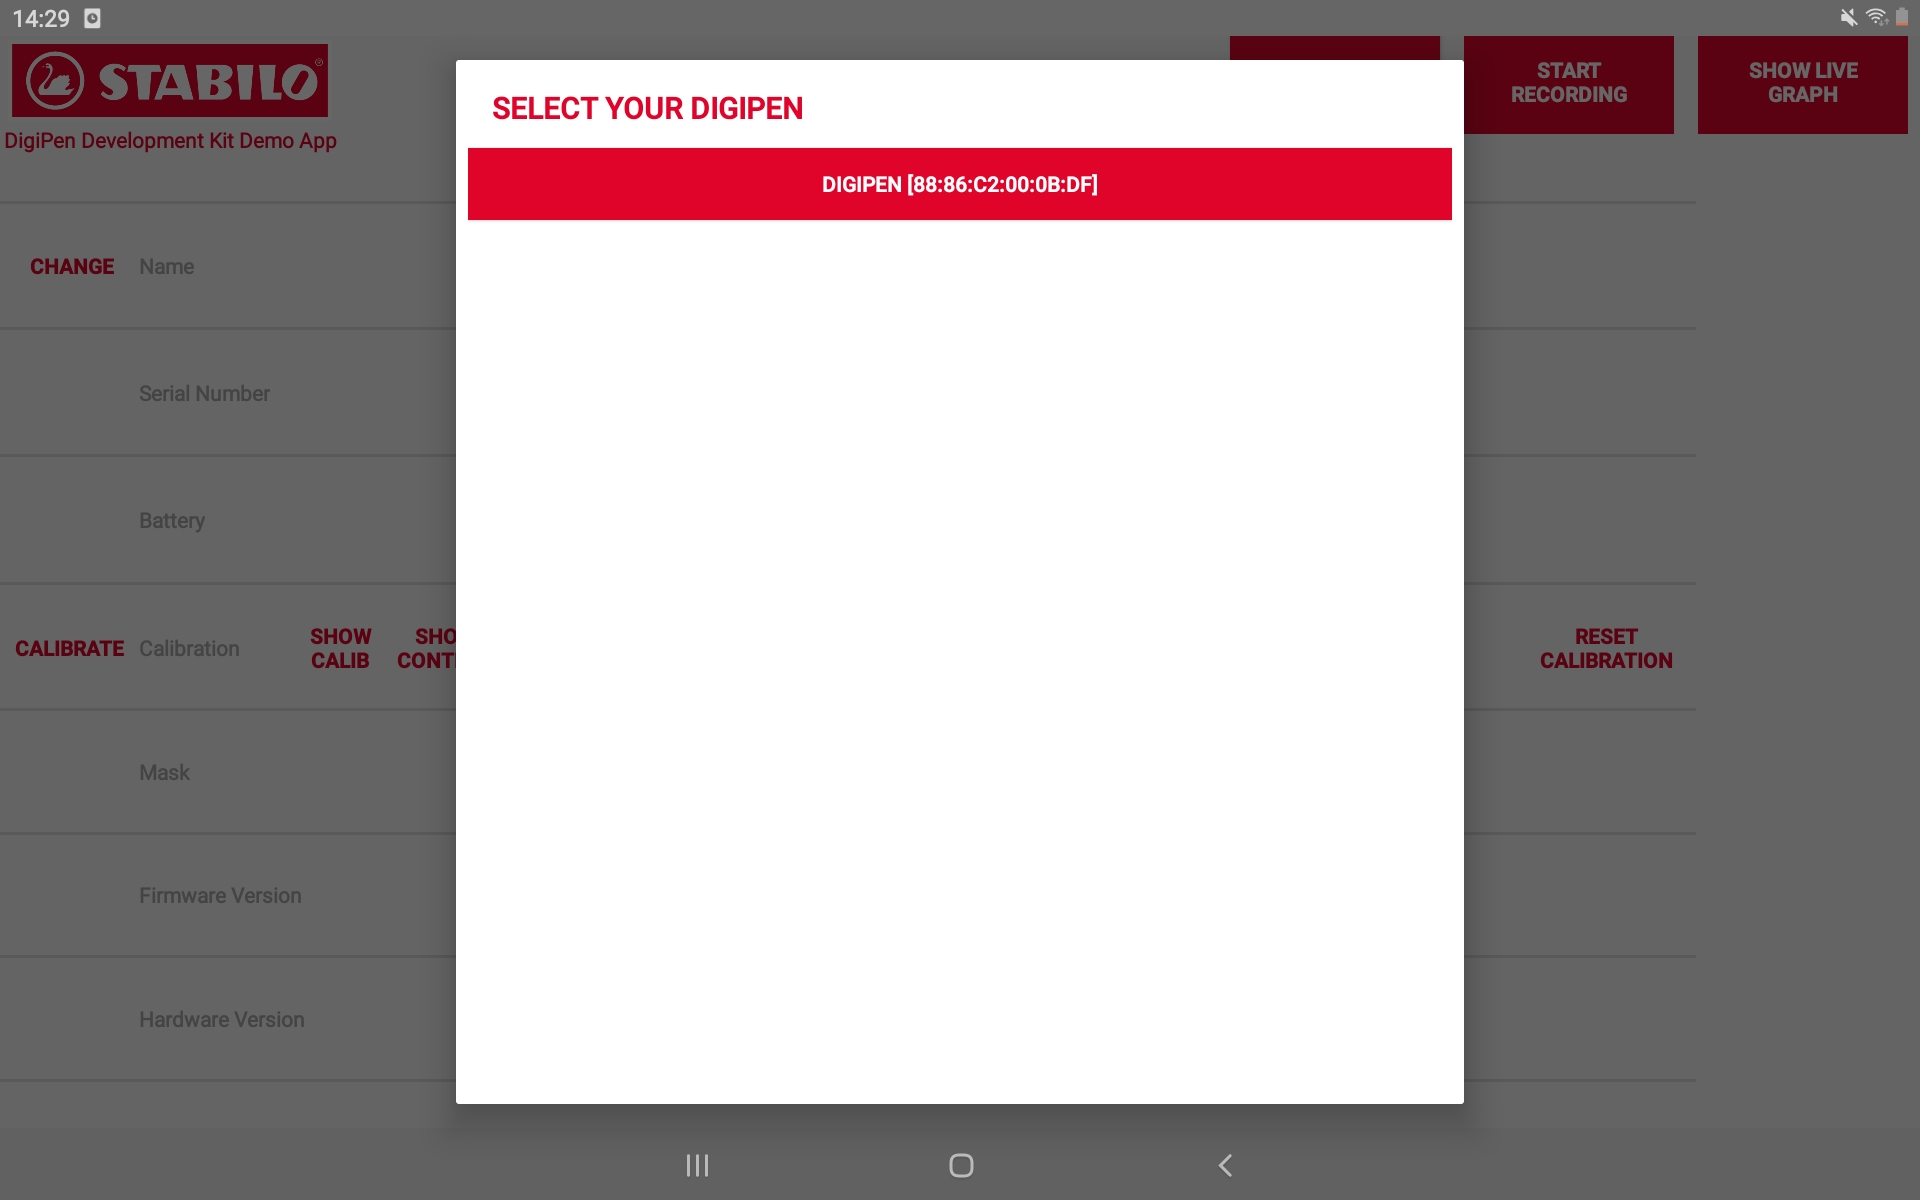
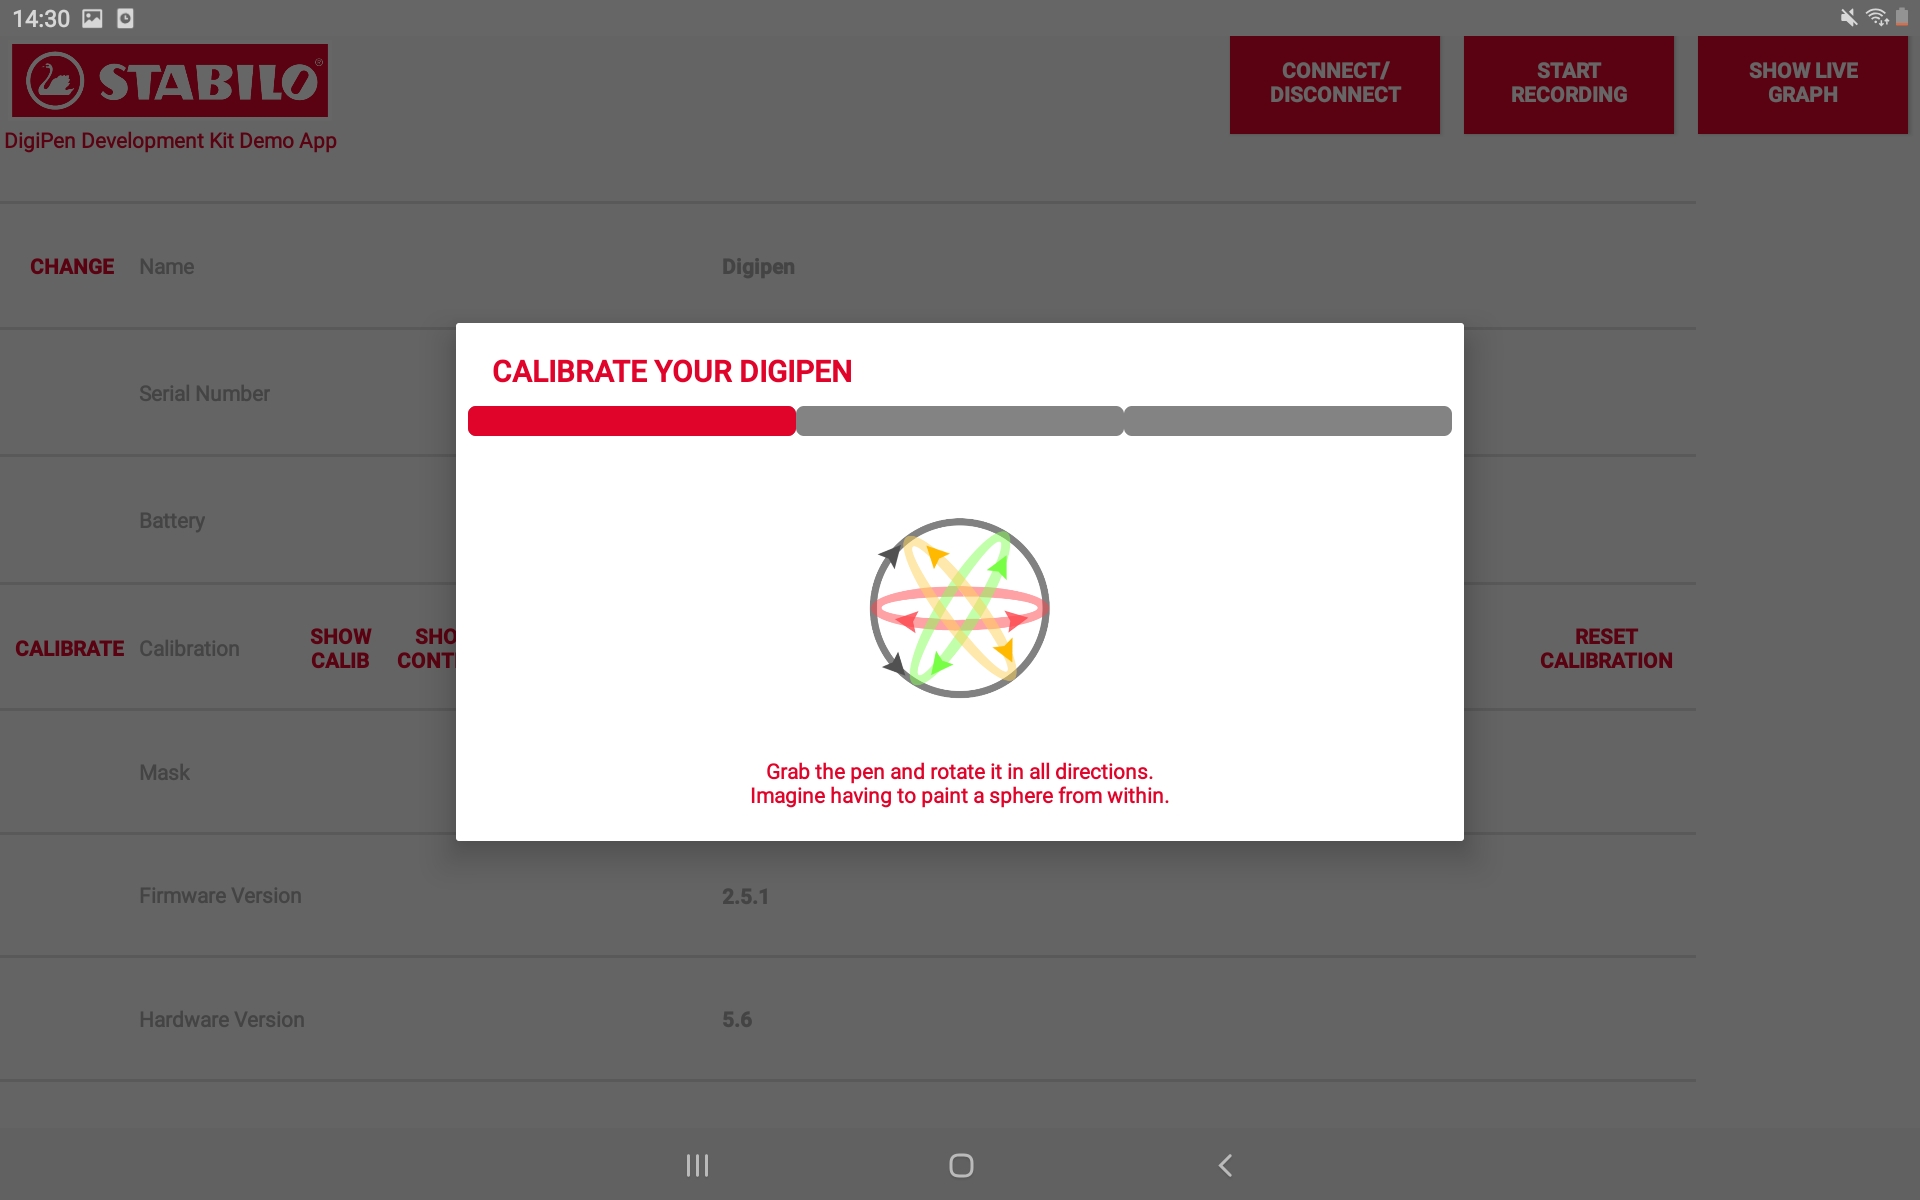
To see exactly how the connection procedure is working, just examine the connectButton’s onClick implementation in conjunction with the onActivityResult() method. Also look at the activity DigipenFinder in the package basic. It works very similarly for the calibration procedure.

To see the most important DigipenConnection methods at work, let’s examine the activity RecordingActivity.java. Here, the goal is to record the raw sensor data after a button is pressed.
Setting up and using the ConnectionHolder is analogous to the StartActivity. But in the onResume() method, another important line is added:
connectionHolder = ConnectionHolder.getInstance(getApplicationContext());
connectionHolder.setDigipenConnectionInterface(this);
connectionHolder.setNewMask(Tools.RAW_MASK);
Setting a mask tells the pen which of the 64 sensor channels (raw and processed) are to be transmitted to the connected device. A full list can be downloaded here.
The mask is a string containing 64 characters. Each character is either a 0 or a 1. Each of the sensor channels corresponds to a character in the mask. Hence, the mask to be used for streaming the 14 raw sensor channels is as follows:
/**
 * The mask representing the raw sensor channels only
 */
public static final String RAW_MASK = "0000000000000000000000000000000000000000000000011111111111111000";
Now that the mask has been set to the raw sensor channels, the onClick() method can call connectionHolder.startDigipenStream() and set up the CSV writer. After recording, connectionHolder.stopDigipenStream() is called.
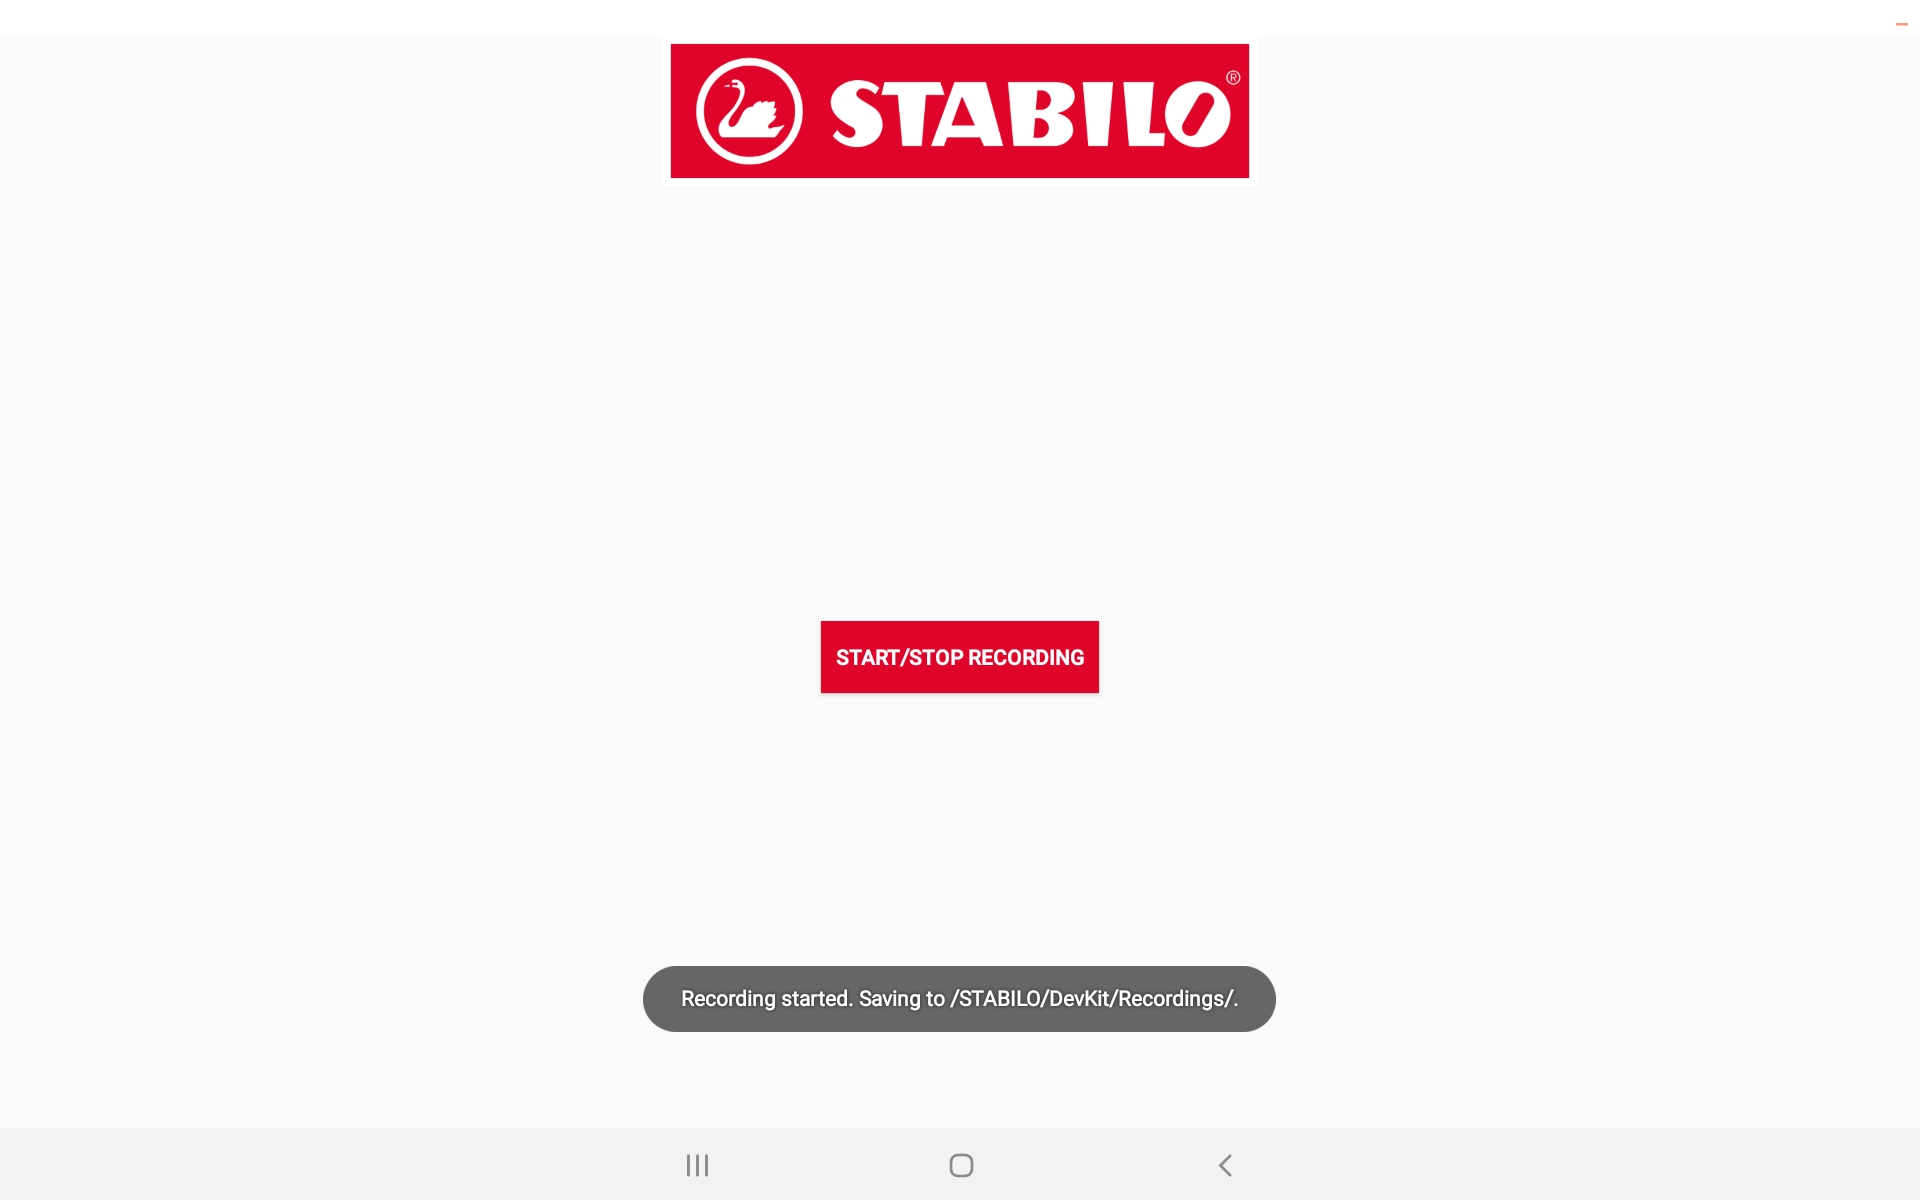
After the stream has been started, for each incoming sample, the method on_digipenDataStream() is called. In the case of the 14 raw channels, this happens 100 times per second. At each timestep, the raw data are passed to the sensorDataSaver object that takes care of writing the content nicely formatted to a csv file in the device folder STABILO/DevKit/Recordings/.
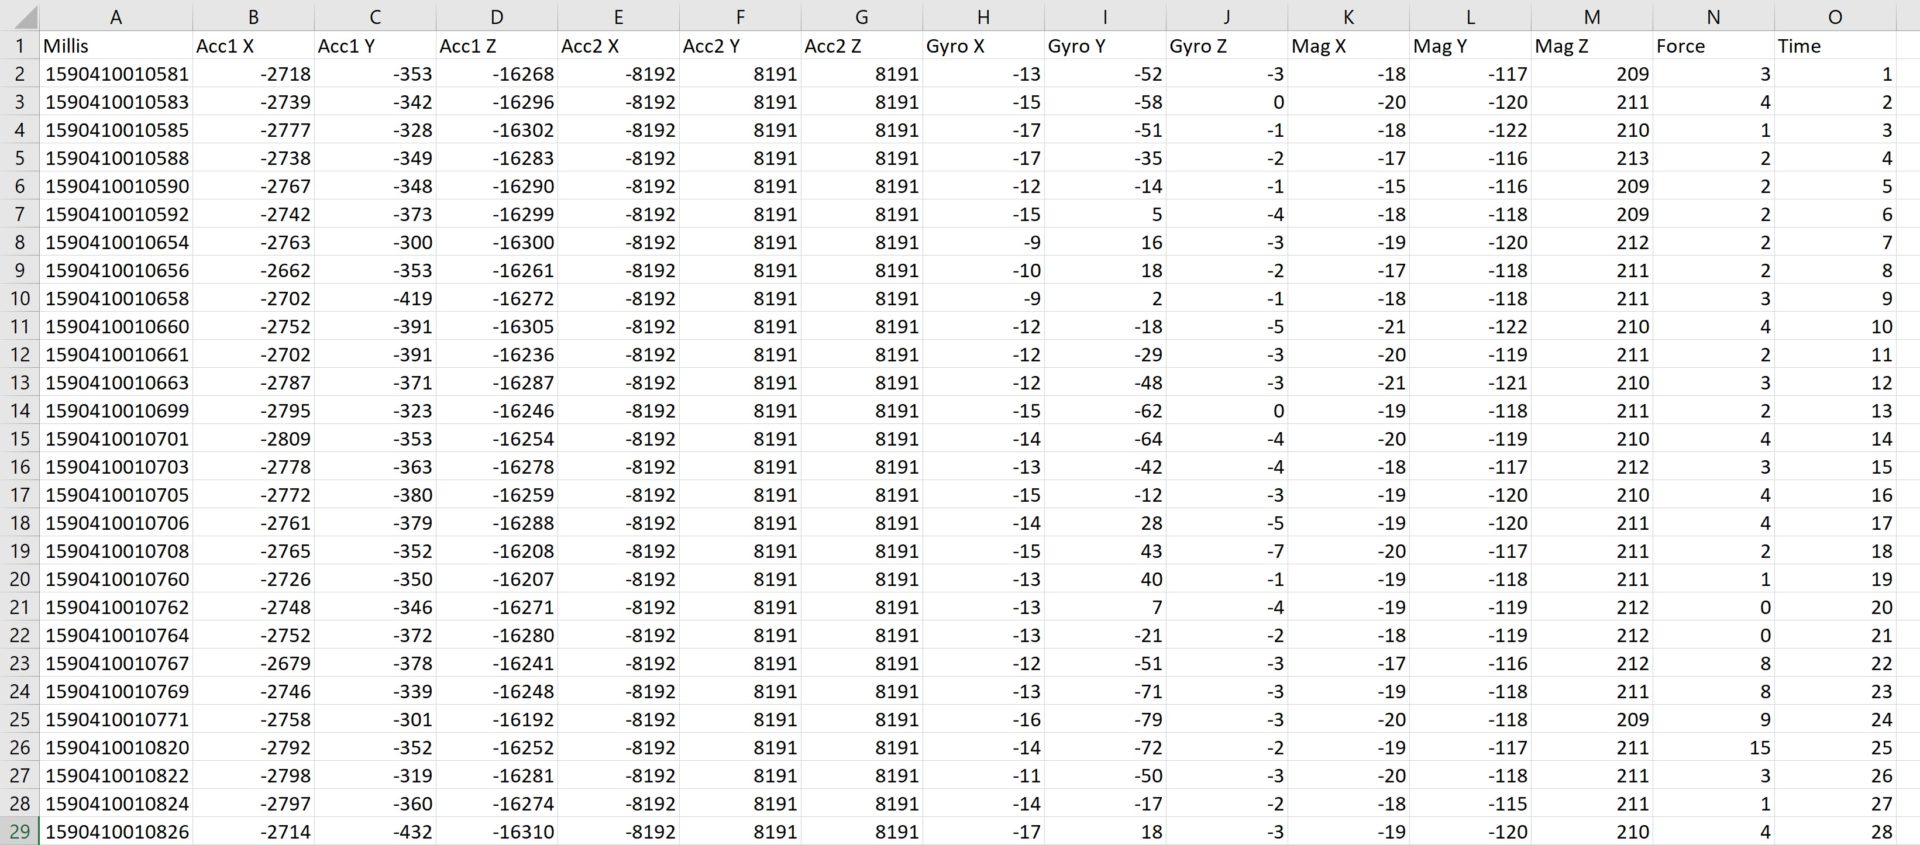
Look at the method setSample() in CSVSensorDataSaver.java to see how each sensor’s data point is accessed:
sample.acc1x = streamData.getAcc1_X().getValue();
sample.acc1y = streamData.getAcc1_Y().getValue();
sample.acc1z = streamData.getAcc1_Z().getValue();
sample.acc2x = streamData.getAcc2_X().getValue();
sample.acc2y = streamData.getAcc2_Y().getValue();
sample.acc2z = streamData.getAcc2_Z().getValue();
sample.gyrox = streamData.getGyro_X().getValue();
sample.gyroy = streamData.getGyro_Y().getValue();
sample.gyroz = streamData.getGyro_Z().getValue();
sample.magx = streamData.getMagn_X().getValue();
sample.magy = streamData.getMagn_Y().getValue();
sample.magz = streamData.getMagn_Z().getValue();
sample.force = streamData.getForce().getValue();
This way of accessing each timestep’s data is possible since we know in advance which sensor channels are to arrive (we set the mask explicitly).
In cases where the user can choose which sample to stream and to display, this is not the case. To understand, let’s look at GraphActivity.java.
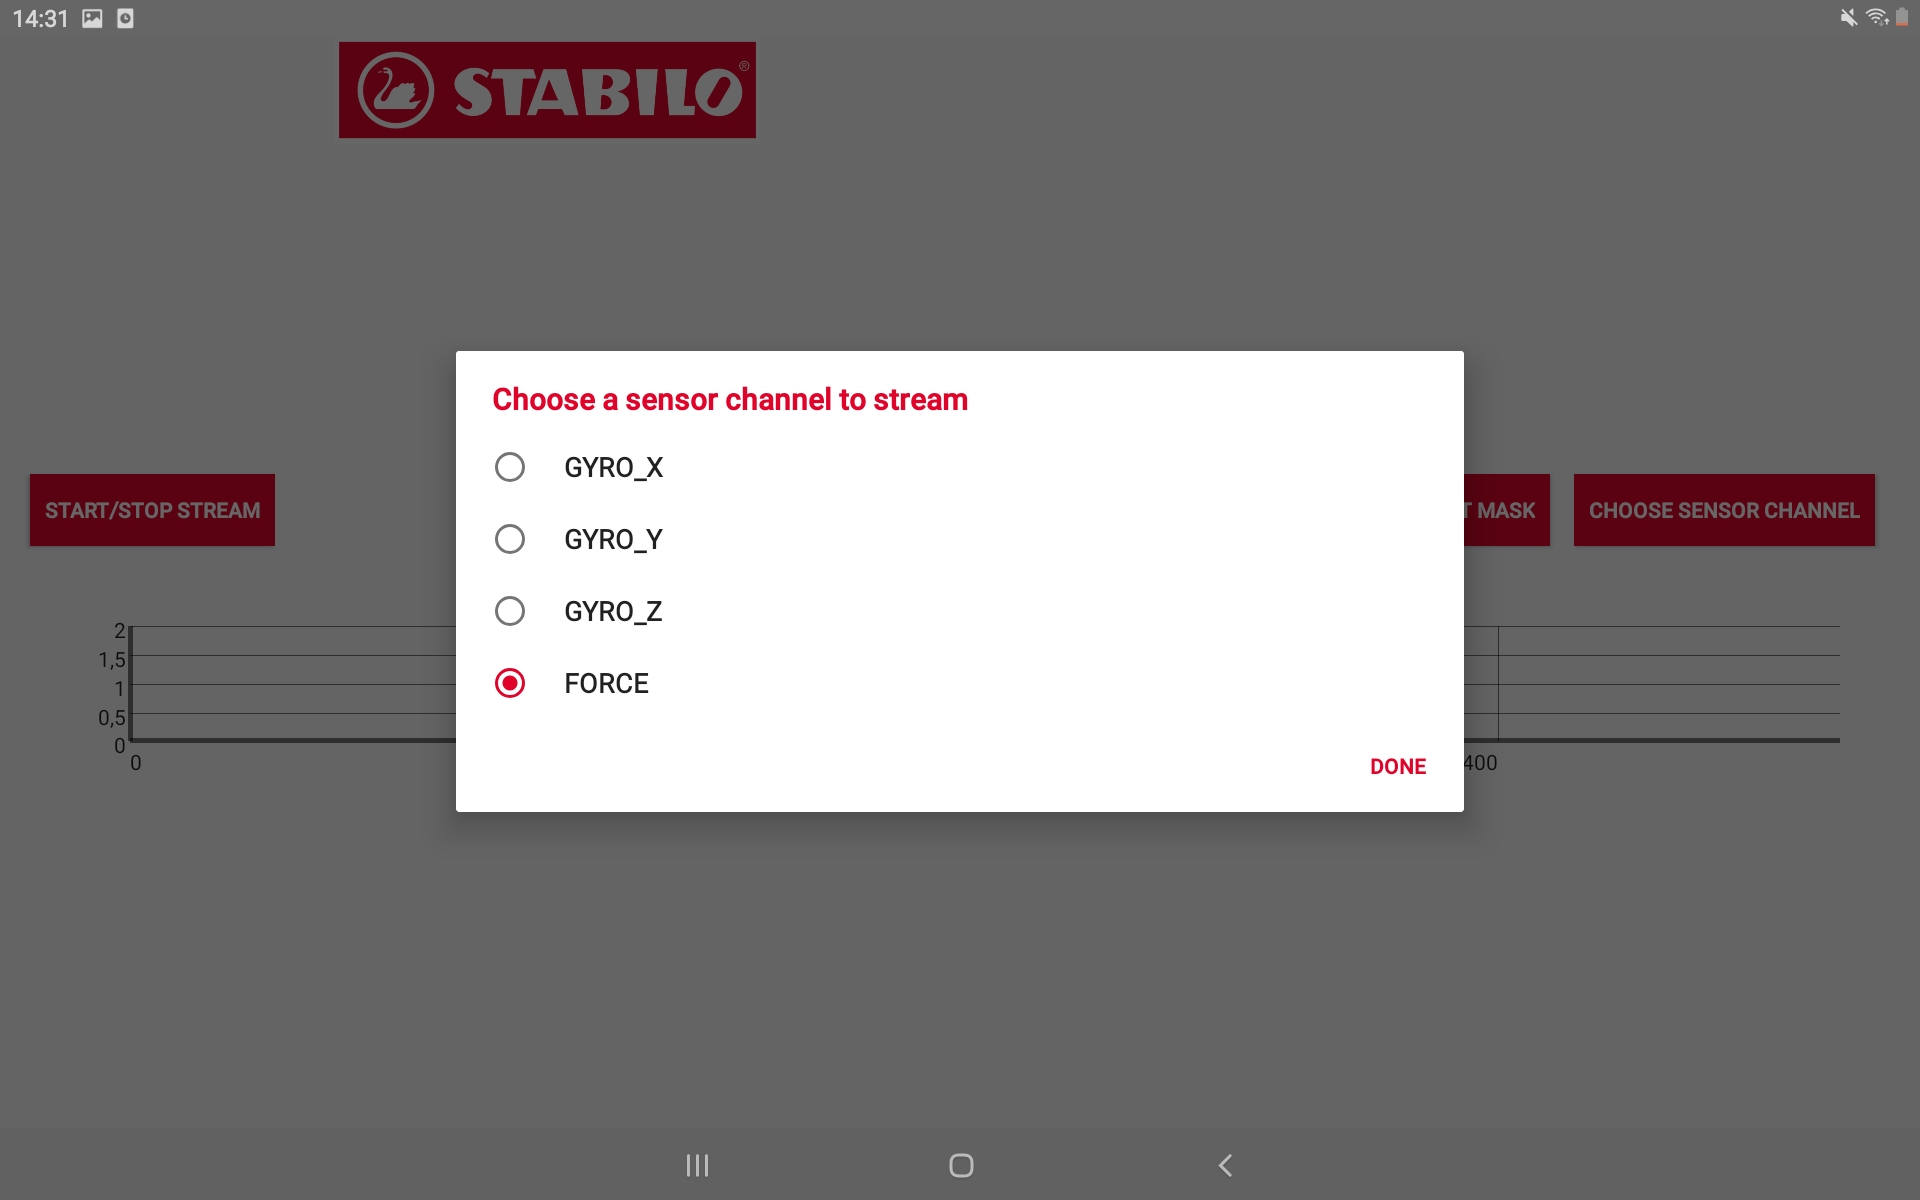
Examining the onClick() method, we can see that the start/stop streaming button can only be used when a mask is set. Clicking the “Set Mask” button makes the user select one or more of the available 64 sensor channels. Afterwards, one of the selected channels can be selected to be visualized in the graph.
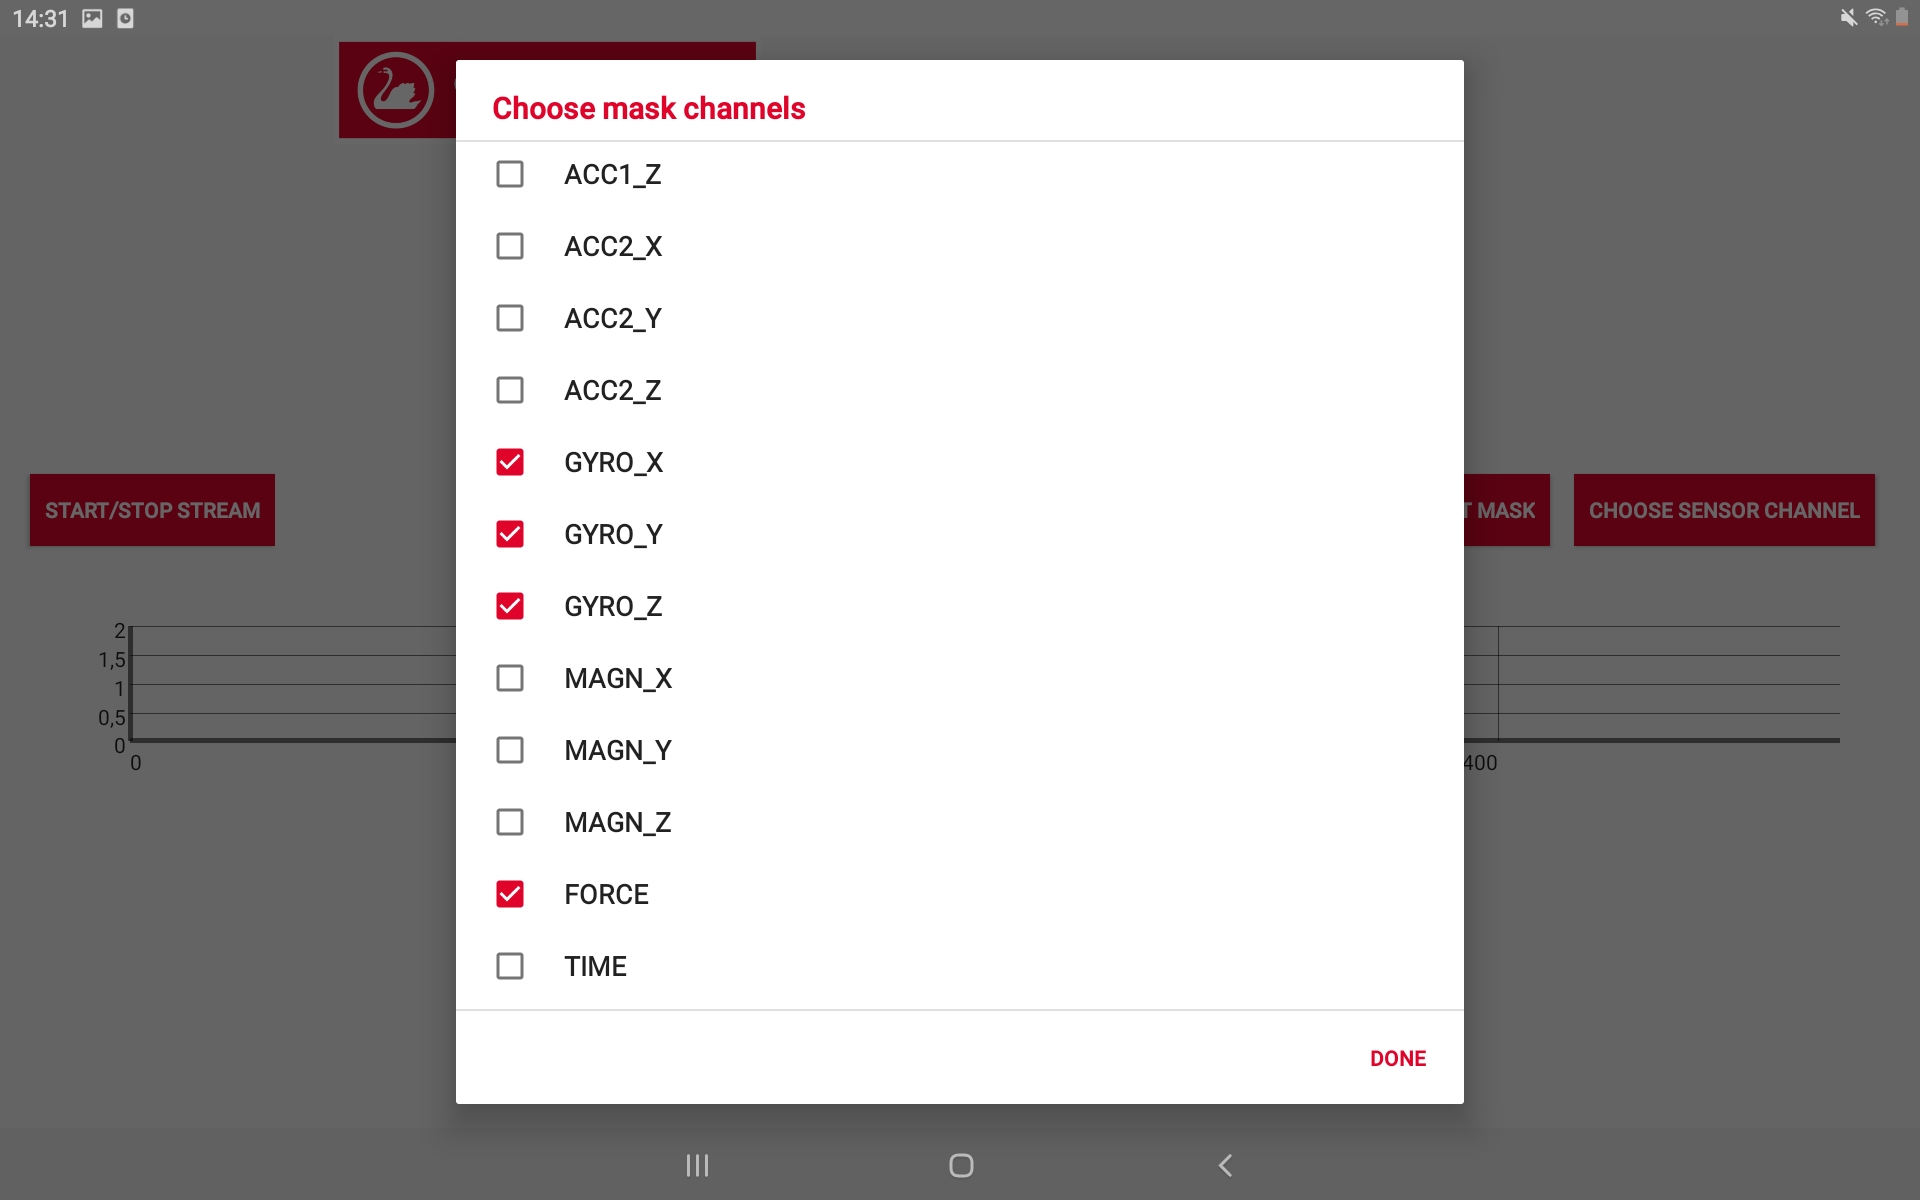
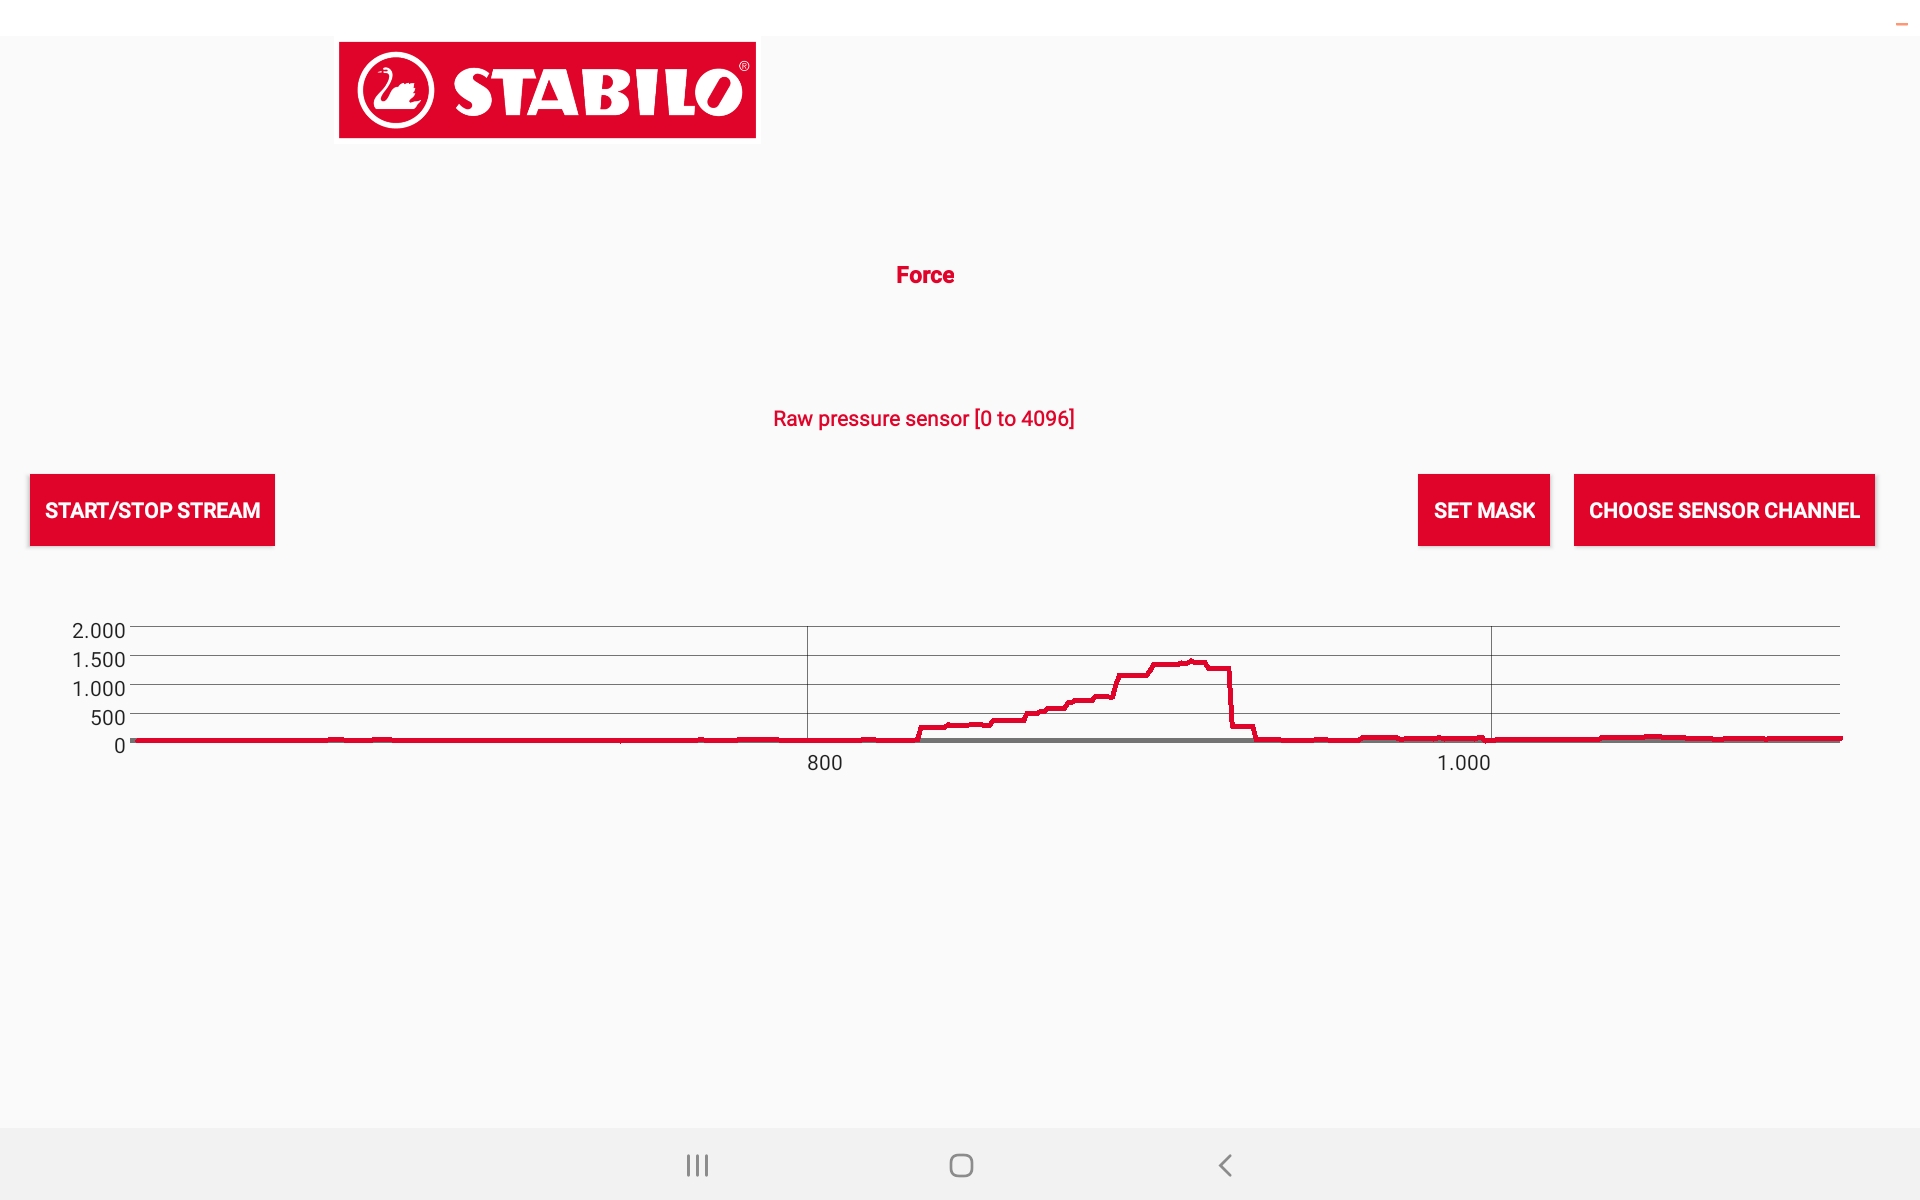
After each time that the user builds a mask, the private method createMask() is called that builds the length-64 string containing 0s and 1s for exactly and only the chosen channels. Thus, when starting the stream, we can’t access – say: the force values – by calling streamData.getForce().getValue().
What has to be done instead is demonstrated in the method on_digipenDataStream():
A specific DigipenDataElement is requested dynamically using the connectionHolder:
DigipenDataElement element = connectionHolder.getRequestedChannelFromStream(streamData, selectedChannel);
… while selectedChannel is the short description string of the requested sensor channel.
What’s the sampling rate?
This depends on the amount of channels set in the mask. Via Bluetooth, up to 10 channels can be streamed with 200 Hz. 11 to 20 channels are streamed with 100 Hz. Setting more than 20 channels is not supported. You can try this yourself easily by setting 1 or 12 channels in the GraphActivity and watch how quickly samples are displayed in the graph.
That’s it! Thanks for following along and have fun with the Digipen DevKit!
Please don’t hesitate to contact us with any questions or problems.